daily meal

Tuesday, October 19, 2010

Apple Crisp

There is nothing better than a warm apple crisp on a cool fall night.  For many, including myself, apple crisp is a wonderfully scrumptious comfort food, especially when served with vanilla bean ice cream!  Therefore, I am going to share my recipe so that you can all enjoy! It is very easy to make and it will be devoured within a night.  I have already had to make three this past week - and they are all gone!
Apple Crisp
Ingredients

Filling:
- 7 to 10 apples (depending on their size) 
- Zest from one lemon
- 2 tablespoons lemon juice
- 1/2 cup granulated sugar 
- 1/4 cup all-purpose flour or cornstarch 
- 1 teaspoon ground cinnamon 
- 1/2 teaspoon ground nutmeg

Topping:
- 1 1/2 cups all-purpose flour
- 3/4 cup granulated sugar
- 3/4 cup lightly packed brown sugar
- 1/2 teaspoon salt
- 1 cup oatmeal
- 1/2 pound (2 sticks) unsalted butter

Directions:
Preheat the oven to 350 degrees F.  

Peel, core, and cut the apples into little chunks and place them into a bowl.  Add the zest, lemon juice, sugar, flour (or cornstarch), cinnamon, and nutmeg.  Mix together and pour into a deep-dish pan.  If using a store bought aluminum foil pan, then use fewer apples to fill the pan because the apples and topping will overflow. 

In a separate bowl, prepare the topping.  Combine the flour, sugars, salt, and oatmeal.  Add butter and blend with an electric mixer for about 1 minute.  Sprinkle and/or pat down the topping over the apples until all the apples are covered.  Place the dish onto a baking pan and put the pan into the oven for 50 - 60 minutes, or until the top is golden brown and the apples are bubbly.  

Apple crisp is best served warm.  If you have an extra large sweet tooth like me, then you can even add a scoop of vanilla bean ice cream. Enjoy! 


Pin It

Monday, October 11, 2010

Butternut Squash Soup in Pumpkin Bowls

In order to continue with my fall themed cooking for this month, I decided to make a butternut squash soup for dinner.  However, in order to relate the dinner even more to the season of fall, I cut open and cleaned out two pumpkins to use as the bowls for the soup (I thought it was a great twist on the bread bowl).  The pumpkins and the soup smelled so delicious and tasted even better! I will definitely be making this again.  It is a decent amount of work to clean out the pumpkins and prep the ingredients, but trust me; the end product is well worth the effort! Plus, you get a two for one deal because you can cook the leftover pumpkin seeds for a tasty snack.

Butternut Squash Soup in Pumpkin Bowls (Recipe adapted from the Food Network)

Ingredients: 

For the Bowls:
-4 small baking pumpkins (such as sugar pumpkins), acorn squash, or sweet dumpling squash
-2 teaspoons sugar
-Salt

For the Soup:
-1 medium butternut squash (about 2 pounds), peeled and cut into 1 inch pieces
-3 tablespoons unsalted butter
-1 small onion, chopped
-1 teaspoon salt
-1 teaspoon thyme 
-2 teaspoons sugar
-5 cups water (or 3 cups water and 2 cups chicken stock) 
-3 Tbsp heavy cream (optional)
-Salt and pepper to taste

For the Toppings (as desired):
-Pumpkin seeds
-Sourdough and/or pumpernickel croutons
-Paprika or chili powder
-Crisp prosciutto, ham, or bacon
-Fried onions
-Fried sage or parsley leaves 

Directions:
Preheat the oven to 400 degrees F and begin making your bowls.  Using a paring knife, cut a medium to large sized circle around the stem of each pumpkin (you can use all 4 pumpkins, but since there were only two of us dining the night I made these, I just carved out two pumpkins and refilled them when we finished our first serving of soup).  


Remove the lids and scoop out all the seeds and fibers.  Save the pumpkin seeds so you can season and cook them later.  Sprinkle the inside of each pumpkin with a 1/2-teaspoon to a teaspoon of sugar and salt.  Place the pumpkins and their lids on a baking sheet and put in the oven.  Cook for about 20-35 minutes depending on the size of your pumpkins. 


Now, you can begin making your soup.  Peel and cut your squash and set aside.  In a large saucepan, melt the butter over low heat.  Add the chopped onions, 1 teaspoon of salt, and thyme into the pot.  Increase the heat to medium and cook, stirring occasionally until the onions are soft (about 5 minutes).  Add the squash and sugar and stir until glazed (about 3-4 minutes).  Add 5 cups of water (or 3 cups water and 2 cups chicken stock) and bring to a boil.  Once the soup boils, reduce to low heat and let simmer, uncovered, for about 15-20 minutes, or until the squash is tender. 


Once the squash is ready, working in batches, transfer some of the squash and liquid to a blender a little at a time, otherwise you will have soup all over your kitchen.  Puree the soup until smooth and pour back into another saucepan.  Continue with the rest of the squash and liquid.  Once all of the soup is pureed, stir in the heavy cream if desired.  Season with as much salt and pepper as you like.  I find that it needs more salt for my taste, but everyone is different! 

Pour the soup into the pumpkin bowls and top as desired.  I used paprika, bacon, pumpernickel croutons, and parsley to garnish.  Absolutely mouthwatering! This would be a great recipe to entertain guests with if having a fall and/or Halloween get together. 


Now, if you saved those pumpkin seeds then it is time to season them up! Make sure your pumpkin seeds are mostly clean (it is okay if some of the pumpkin fibers are left on since they add flavor).  Preheat the oven to 350 degrees F.  Meanwhile, add the seeds to a bowl and stir in olive oil and/or butter (a few teaspoons to a tablespoon, depending on your taste), and salt and pepper to taste.  I prefer just using those 3 ingredients, but you can season the seeds with whatever you like.  Garlic salt, for example, is a popular seasoning for the pumpkin seeds.   

When ready, place the seeds on a baking sheet and spread them out so that they are all lying flat out on the pan.  Cook for about 10 minutes or until golden brown.  Let them cool completely and enjoy! They are so simple to make and a great way to use up all those leftover pumpkin seeds.  


If you are from the Massachusetts/New Hampshire area, then I suggest going to Smolak Farms in North Andover, MA, Applecrest Farm in Hampton Falls, NH, and Mann Orchards in Methuen, MA to shop for your apples and pumpkins.  I hope you enjoyed these great fall recipes and remember to check back soon as I will continue to post more fall dishes throughout the month! 

Pin It

Thursday, October 7, 2010

Apple Cider Doughnuts

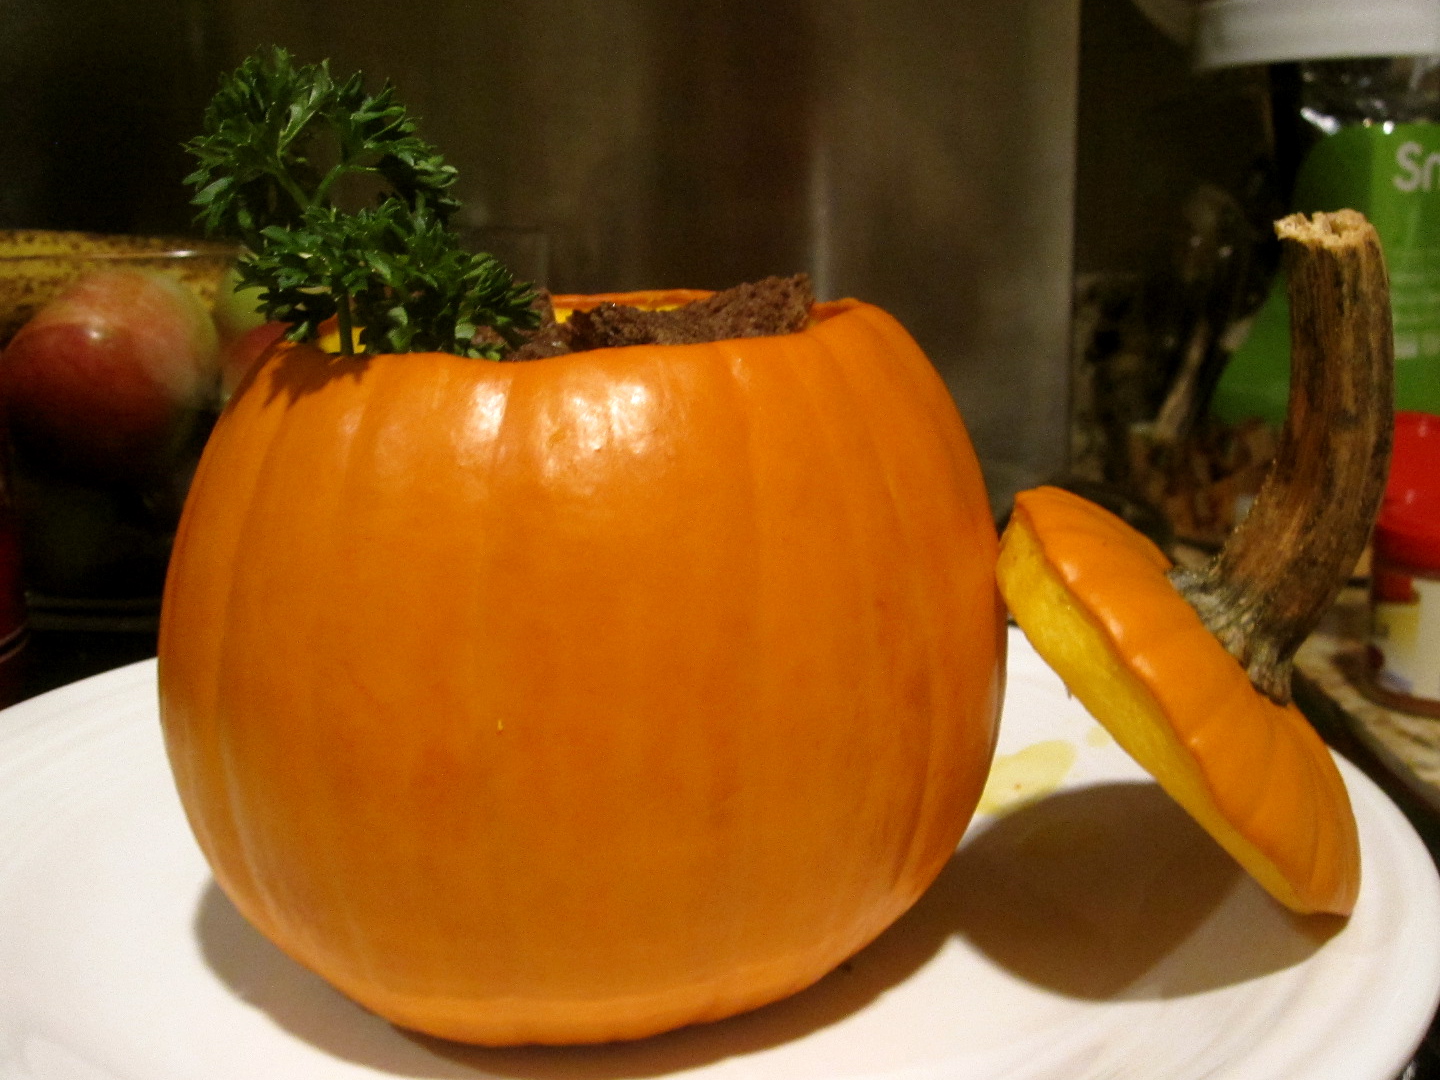
Fall is my absolute favorite season of the year! Especially being a New Englander, the fall season can have a variety of different meanings.  Everything from the food, to the smells, the changing of the leaves and even the changing of weather mean that fall is well underway and the holidays are fast approaching.


My favorite things about fall include coming home to the smell of a pumpkin spice candle burning and freshly picked apples.  My top favorite though, would be having the knowledge that once fall arrives, so do the cider doughnuts! Although not the healthiest of treats (what good tasting item really is healthy???), apple cider doughnuts have the ability to make my mouth water! The doughnuts of course, should not be eaten alone - they should be accompanied by warm apple cider.  Mmmm...


Therefore, in celebration of my favorite season, I will be making all types of fall foods during the upcoming month.  And of course, I shall start with my favorite: doughnuts and cider!
Apple Cider Doughnuts
Ingredients: 
2 apples
1 Cup apple cider
3 1/2 Cups flour
2 tsp baking powder
1 tsp baking soda
1/2 tsp ground cinnamon
1/2 tsp salt
1/4 tsp ground nutmeg
4 tbsp shortening
1 Cup granulated sugar
1 large egg and 1 egg yolk
1/2 Cup buttermilk
Vegetable oil for frying


Glaze:
1 Cup apple cider
1 Cup confectioner's sugar


Topping:
1 Cup granulated sugar
2 tbsp ground cinnamon


Directions:
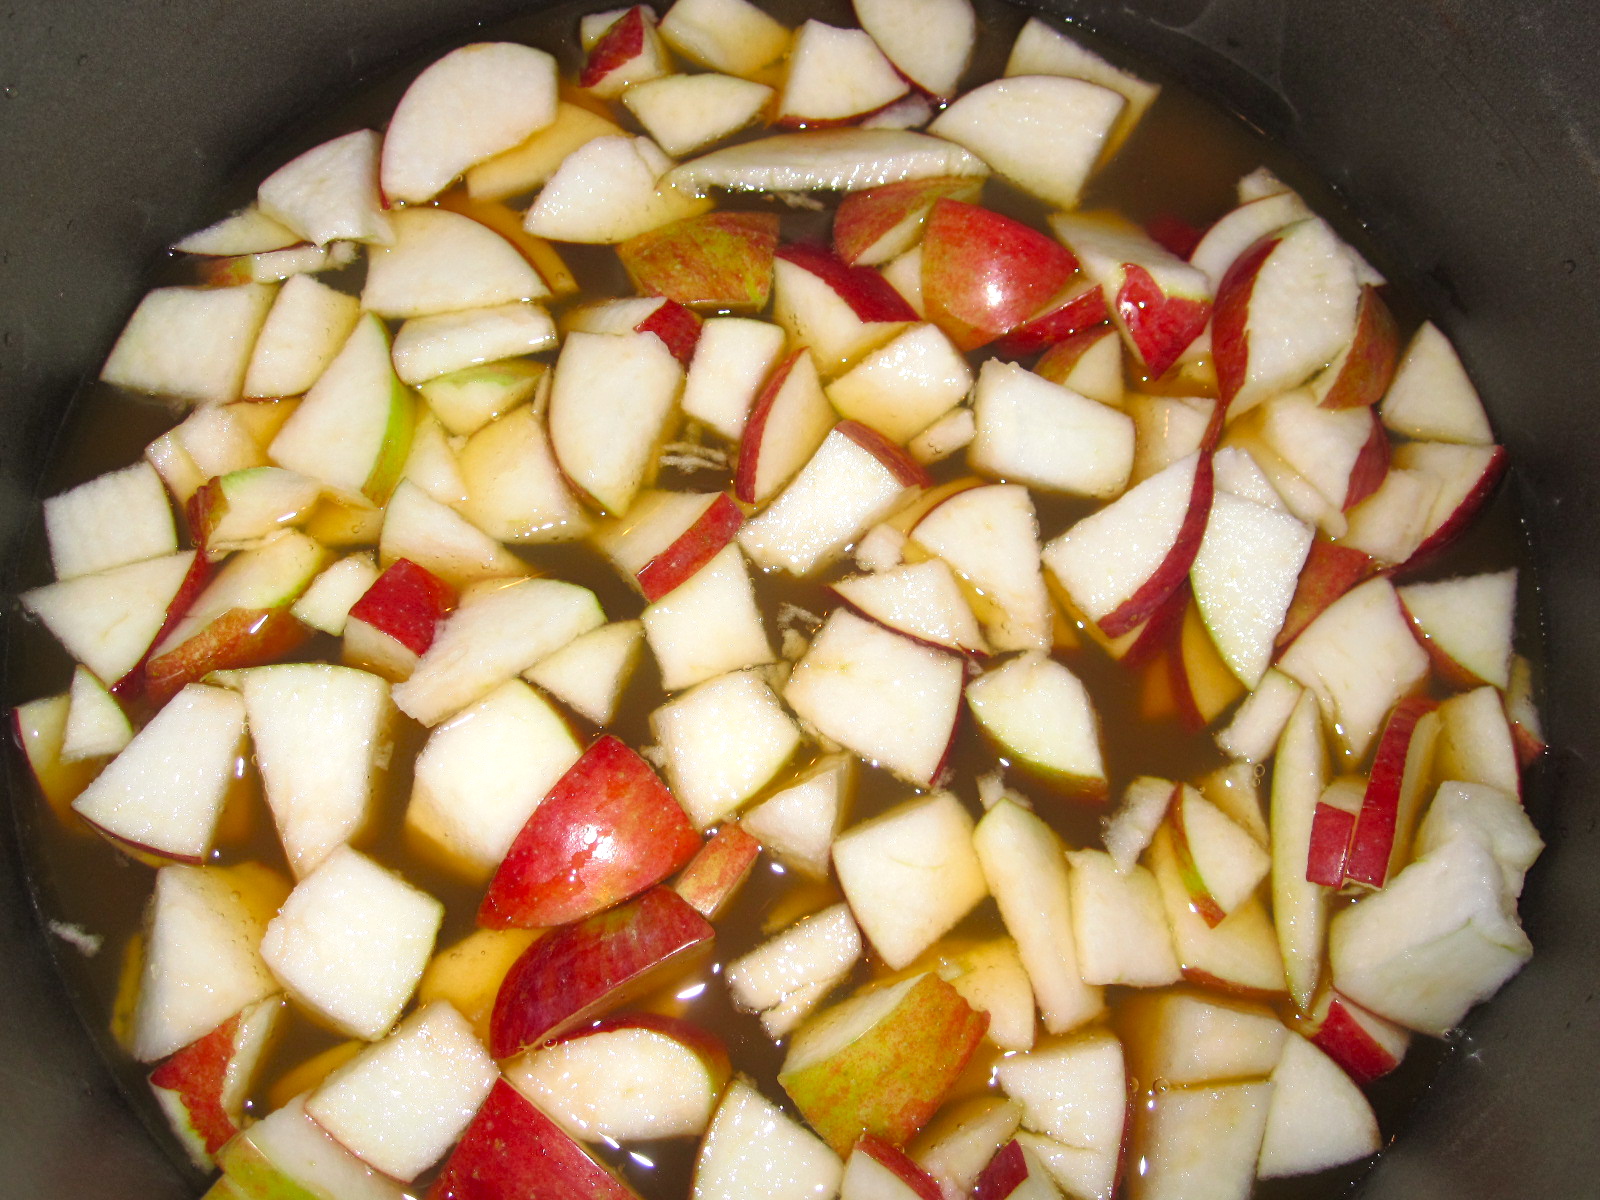
Go apple picking! Nothing beats the fun fall activity or the freshness of the apples.  Of course, if you do not have time, then just pick up some Macintosh or Cortland apples from the store.  Core and chop the apples.  Do not peel the skins off.  Place in a saucepan over medium heat and add 1-cup apple cider.
Simmer with the cover on for about 8-10 minutes or until the apples are soft.  Take the cover off and simmer for a few more minutes until all the apple cider is nearly reduced. 
Pour the apples into a blender and puree them until smooth. Once blended, you should have 1 cup of applesauce.  If you have more, then place the applesauce back into the saucepan and heat until reduced to one cup.  Set aside and let the mixture cool slightly.
In a bowl, mix the flour, baking powder, baking soda, 1 1/2 teaspoons cinnamon, salt and nutmeg.  Set aside.  In a separate bowl, blend the sugar and shortening together.  Add the egg and egg yolk, and gradually mix in the applesauce.  Then, mix in half of the flour mixture and the buttermilk, and then the remaining flour mixture.  Make sure not to over mix.  The dough should be very sticky.
Place a piece of parchment paper on a flat pan and smooth the dough out on top.  Cover in plastic wrap and let chill for at least two hours.  I find the dough to still be too sticky for my liking, so I usually chill it for even longer or up to overnight.  

When you are ready to make the doughnuts, heat 2 inches of vegetable oil in a saucepan over medium - high heat.  Oil should reach about 350 degrees.  If the oil gets too hot then just reduce the heat so the doughnuts will not burn.  

While the oil is heating up, make the glaze and topping.  For the glaze, heat one cup of apple cider and mix in the confectioner's sugar over low heat.  For the topping, mix the sugar and cinnamon in a large, flat plate.  

Once you have made the glaze and the topping, and the oil is ready to go, it is time to take out the dough! Use doughnut cutters (or a 3 inch round cutter and a 1 inch round cutter) to cut out the doughnut shapes.  Place them onto a skimmer or spatula to slide into the oil.  Be very careful or otherwise you will burn yourself with the oil like I managed to do! 

The doughnuts will only take about 2 minutes or less on both sides.  Place them onto paper towels to drain.  You will also have all the little middle cutouts from the dough, so use them to make munchkins! Once all the doughnuts are made, dip them into the glaze and then roll them around in the sugar/cinnamon mix. 
As soon as the doughnuts are all done, eat them up! They are absolutely delicious when served fresh and warm.  Of course, I do always like to save a few so I can eat them for breakfast for a few days! :)

Now, if you want to curl up on the couch and enjoy your doughnuts with a nice cup of warm apple cider, then the following recipe is for you! Warm apple cider is so simple and easy to make, and the taste so satisfying and comforting! 
Warm Apple Cider

Ingredients: 
Half gallon of apple cider
1/4 C brown sugar 
Pinch of nutmeg and ground cloves
Orange zest (optional)
3-4 cinnamon sticks

Directions: 
Pour the apple cider into a saucepan or crock-pot over low-medium heat.  Add the brown sugar, spices, zest (if using), and cinnamon sticks.  I personally like it without the zest but many prefer to have the zest included in the cider. 

Simmer over low heat until the cider is nice and warm.  I like to let the smell fill my home so I leave the cover off of the pan and simmer the cider for at least 2 hours.  That way, the flavors really blend into the cider.  When ready to serve, use a ladle to pour the cider into mugs and stick a cinnamon stick in as a garnish.  Enjoy!

Pin It